
Lead Attributes
Lead attributes are custom labels you apply to leads so you can segment, filter, and organize them around the dimensions that matter to your program — industry, region, CRM platform, deal size, or anything else you track. Define an attribute once, tag your leads with it, then filter your Leads list to focus on a segment.
Before you start
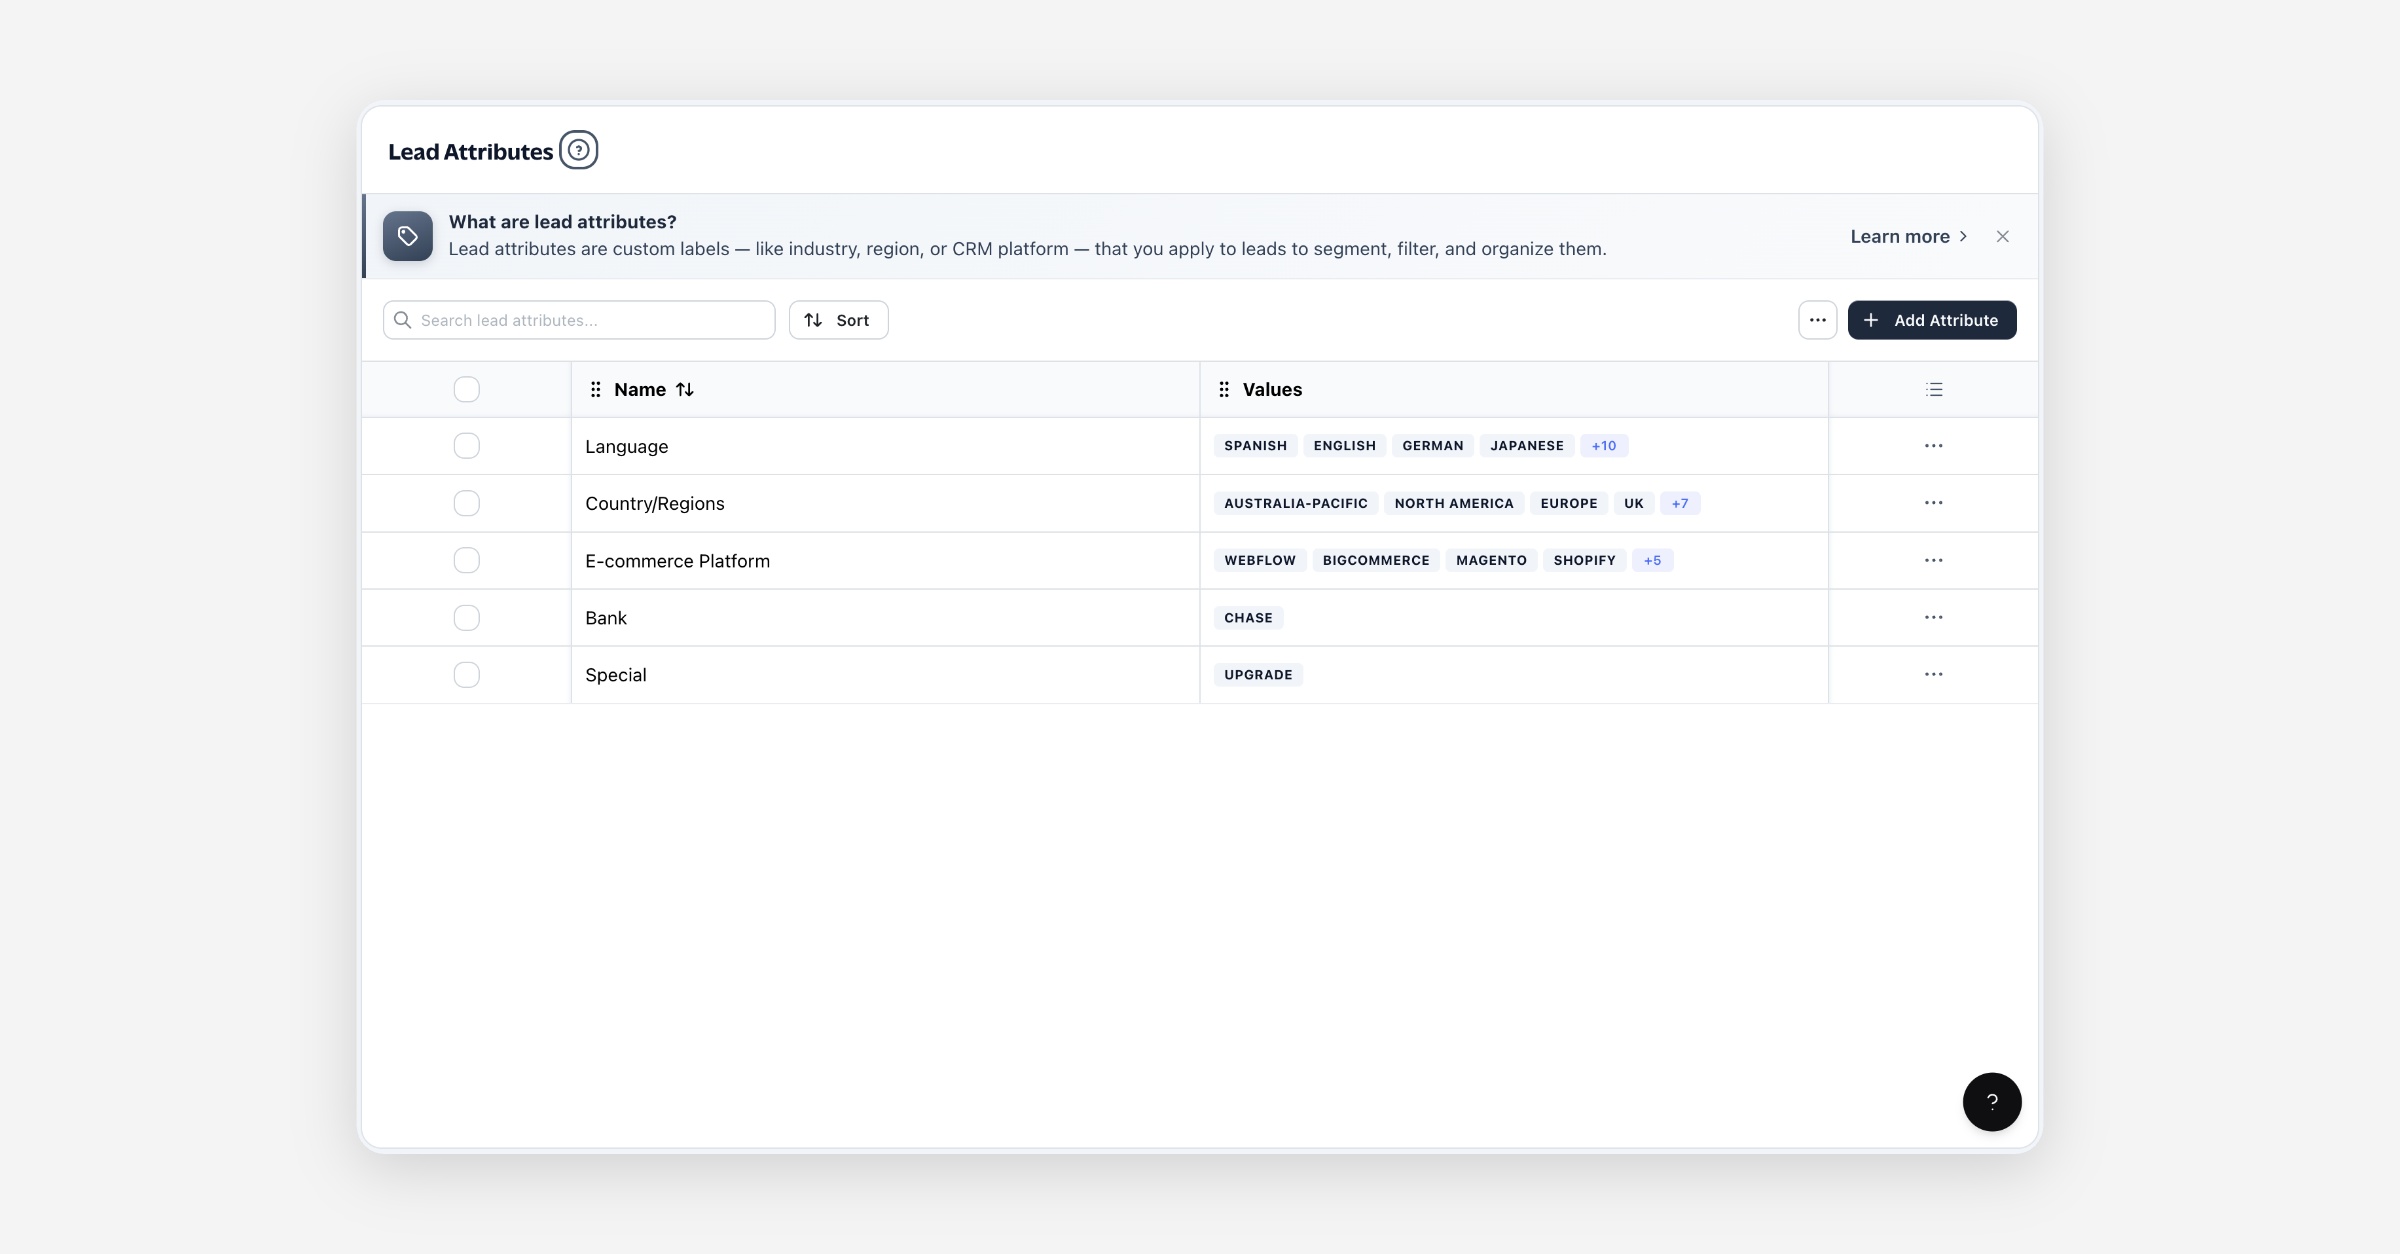
Lead Attributes live under Leads → Lead Attributes.
You can define attributes at any time — you don't need leads yet. They'll be ready to apply the moment leads start coming in.
Attributes you create are private to your account. A few built-in attributes are shared across Partner.io (see Built-in attributes).
Attributes and values
An attribute has a name and one or more values:
Name — the dimension you're labelling by, e.g. Industry, Region, CRM platform.
Values — the options a lead can be tagged with under that name, e.g. SaaS, Retail, Fintech.
A lead can carry more than one attribute at a time — for example Industry: SaaS and Region: EMEA together.
Creating an attribute
On the Lead Attributes page, choose Add Attribute.
Enter an Attribute Name.
Add one or more Values. Use Add value for as many as you need; remove any with the ✕ beside it.
Choose Create. The attribute appears in the list, ready to tag leads with.
![screenshot: the Add Lead Attribute dialog]
To change an attribute later, open its menu and choose Edit — rename it, add values, or remove values you no longer use.
Built-in attributes
Partner.io includes a few starter attributes — such as region/country, language, and e-commerce platform — so common segments are ready to use out of the box. Built-in attributes:
Can't be edited. Their values are shared across Partner.io.
Can be hidden. If a built-in attribute isn't relevant to your program, delete it to hide it from your account. This hides it for you only; it doesn't affect anyone else.
Add your own attributes alongside the built-in ones at any time.
Tagging leads
There are several ways a lead gets tagged:
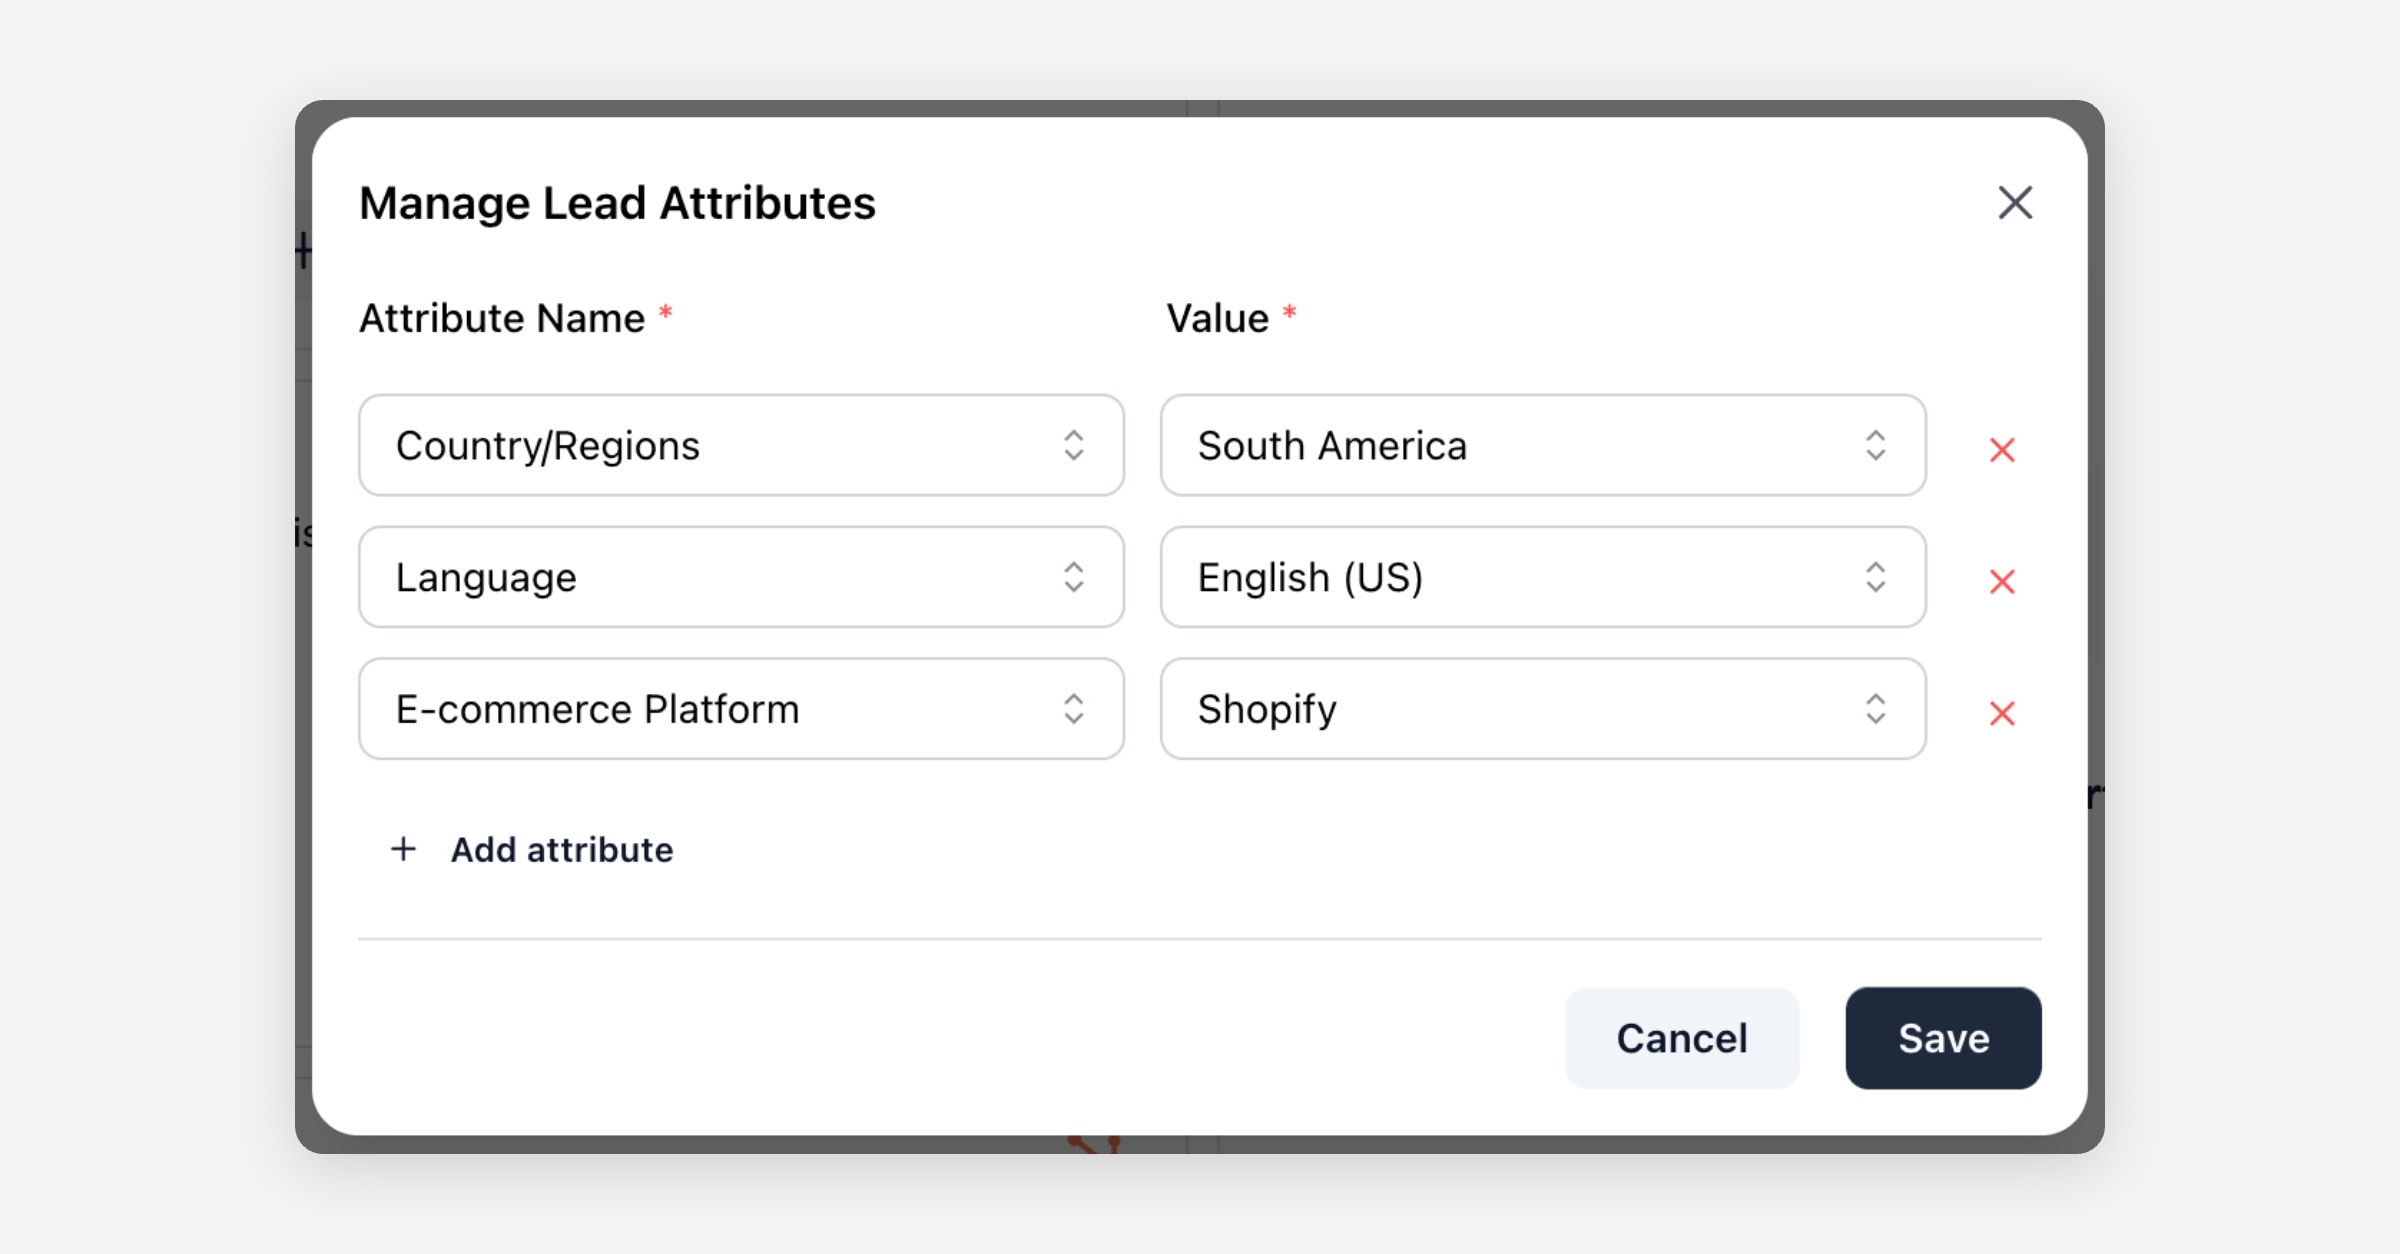
From a lead's detail page — open a lead and use Add Attribute / Manage Attributes to apply or change its values.
Several at once — on the Lead Attributes page, open an attribute's menu and choose Tag Leads, pick a value, then select the leads to apply it to.
Automatically, via an integration — a new lead created from a Shopify install is labelled with its e-commerce platform automatically.
Filtering leads by attribute
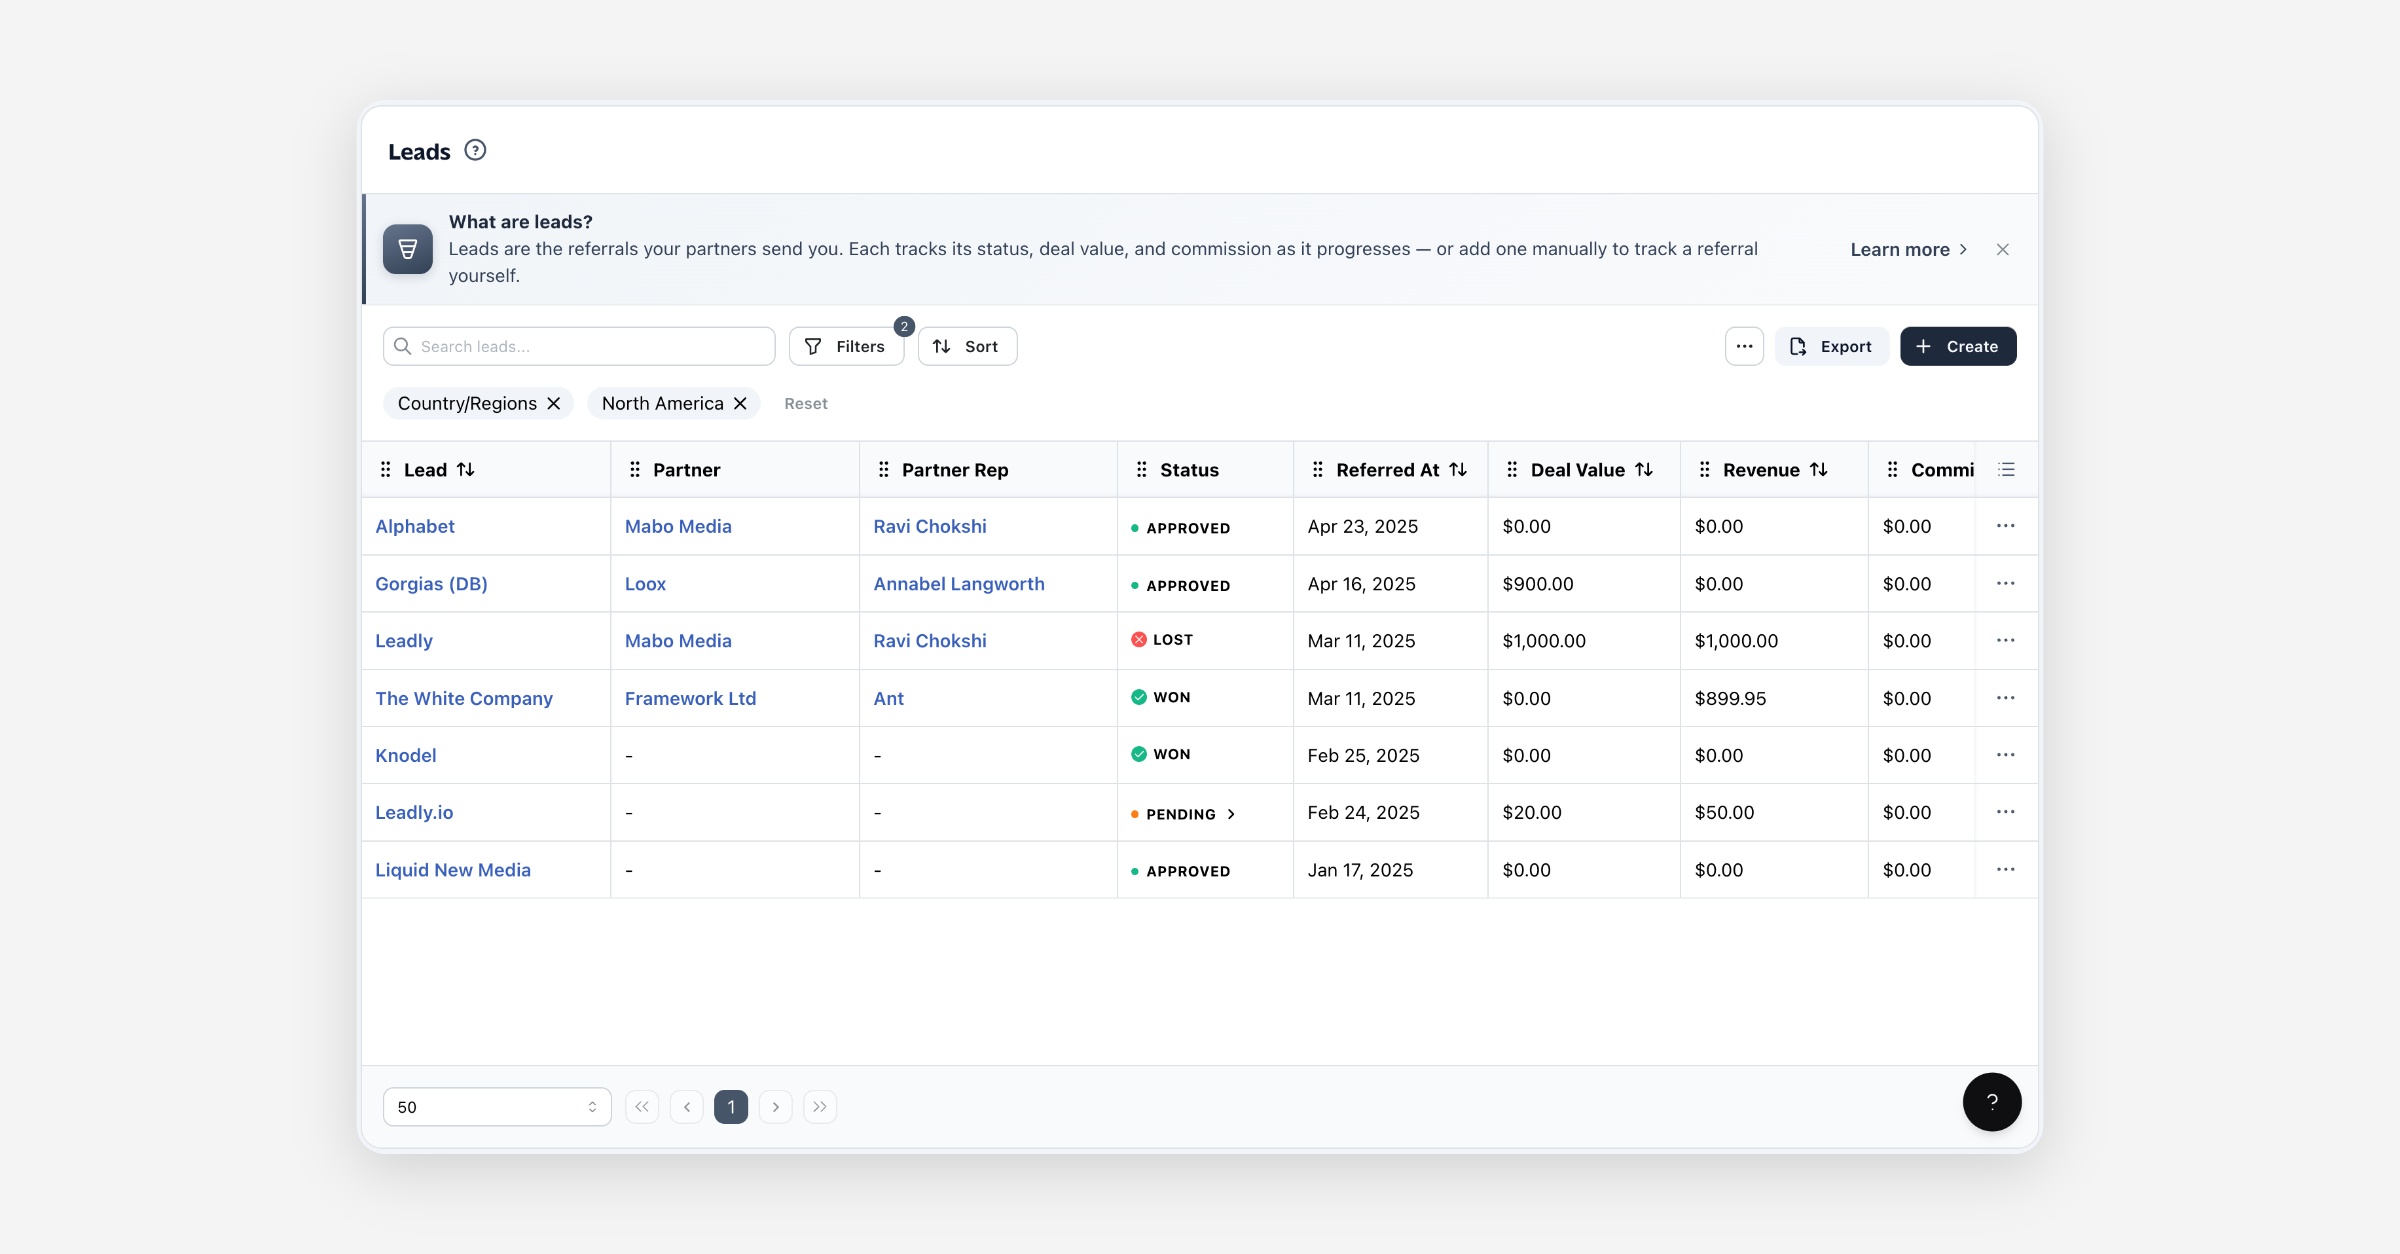
On the Leads page, filter by Attribute Name and Attribute Value to narrow the list to a segment — for example, every lead tagged Region: EMEA. From an attribute's menu on the Lead Attributes page, View Leads jumps straight to the Leads list filtered by that attribute.
Deleting an attribute
Open an attribute's menu and choose Delete to remove it and all of its values, or select several and delete them together. Deleting an attribute you created removes its tags from your leads. Deleting a built-in attribute hides it from your account without affecting other accounts.
This can't be undone.
Permissions
Lead Attributes are managed from your admin account. The feature isn't plan-gated — it's available to every account.
FAQ
Do I need leads before I can create attributes? No. Define attributes whenever you like; they apply to leads as soon as you have them.
Can a lead have more than one attribute? Yes. Tag a lead with as many attributes and values as you need.
Can I edit a built-in attribute? No — built-in attributes can't be edited, but you can hide any you don't need and add your own alongside them.
Where do lead attributes show up? On each lead's detail page, and as filters on the Leads list.
A worked example
Say you want to route leads by the platform your customer runs on.
Create an attribute CRM platform with values HubSpot, Salesforce, and Pipedrive.
Open a few leads and tag each with the right value, or use Tag Leads to label several at once.
On the Leads page, filter by CRM platform: HubSpot to see just those leads.
Was this helpful?